Many homeowners with rooftop panels can name their inverter brand, yet few can point to the solar disconnect switch that isolates the array from the rest of the home. That gap affects safety and service timing. When a roof is repaired, a panel is replaced, or emergency responders arrive at a property, the first controlled step is often to shut down the solar circuit at a known location. Technicians serving Delaware, Maryland, Pennsylvania, Virginia, and Washington, D.C. frequently lose time searching for a disconnect that the homeowner has never located. This guide explains what a solar disconnect switch does, where it is typically installed, and how households can prepare for safe service.
Table of Contents
- Quick Takeaways
- What a Solar Disconnect Switch Does
- Where Your Solar Disconnect Switch Is Usually Located
- Why Mid-Atlantic Homes Need Clear Access
- Safety During Maintenance and Emergencies
- Common Mistakes Homeowners Make
- Disconnect Options Compared
- Solar Disconnect Service and Inspection
- Frequently Asked Questions
- References
Quick Takeaways
Key Insight | Explanation |
|---|---|
Locate the disconnect before you need it | Walk the path from the array to the inverter and then to the utility meter, and note each switch or control you find. |
Label every disconnect clearly | A readable label that identifies the solar circuit helps technicians and emergency responders act without delay. |
Keep access unobstructed | Stored bicycles, shelving, and tools should not block the switch or the space needed to operate it. |
Know the difference between a disconnect and a breaker | A lockable disconnect provides a visible, intentional isolation point, which a standard breaker alone may not provide. |
Schedule inspections after severe weather | Heavy rain, humidity, and freeze-thaw cycles can degrade connections, so a periodic check of the switch enclosure is a reasonable habit. |
Share the location with everyone in the household | Adults, older children, and any caregivers should know where the switch is and how to shut down the solar circuit safely. |
What a Solar Disconnect Switch Does
A solar disconnect switch is a manually operated device that separates the photovoltaic system from the rest of the electrical installation. When the switch is in the off position, the solar output is isolated, which allows a technician to work on wiring, inverters, or panels without energy flowing from the array. The device serves a different purpose than the protection built into the rest of the home's electrical system, so it should be treated as a separate safety component.
In practice, the disconnect gives service personnel a visible point of isolation. Many installations use a lockable switch so that a technician can apply a personal lock during work. This protects the worker and prevents another person from restoring power while the system is open. A switch that can be locked and seen in the off position is more reliable than a control that is only assumed to be off.
Isolating the Array From the Home
The array generates direct current whenever sunlight reaches the panels, and that output does not stop simply because a home appliance is turned off. Disconnecting the array separates the source from downstream equipment. This matters during roof work, because panels can remain energized in daylight even when the home's main power has been shut off at the service panel.
Isolation also supports diagnostics. When a system underperforms, a technician may need to open the circuit, test strings, and verify connections one section at a time. A clearly marked disconnect makes that process faster and reduces the chance of an error during testing.
Disconnect Versus Breaker
A breaker protects a circuit from overcurrent, while a disconnect is intended to isolate equipment for service. Some homeowners assume that a breaker in the service panel performs the same function for the solar circuit. That assumption can lead to unsafe conditions because the array may still be connected to conductors that are energized during work. Confirming the function of each device with a licensed installer clarifies which control performs which task.
Where Your Solar Disconnect Switch Is Usually Located
The location of a solar disconnect switch depends on the design of the system, the age of the installation, and the requirements of the local jurisdiction and the utility. Most residential systems place at least one disconnect near the inverter or near the point where the solar circuit connects to the home's electrical system. Some installations also include a separate switch near the utility meter. Because designs vary, a homeowner should confirm the exact locations during installation and record them.
When a homeowner cannot find a disconnect, the first step is to trace the conductor path from the roof. Conduit typically runs from the array down a wall or through an attic to the inverter or to a junction box. Inspecting that path from the outside and then from the interior of the home usually reveals the switch enclosure.
Near the Inverter
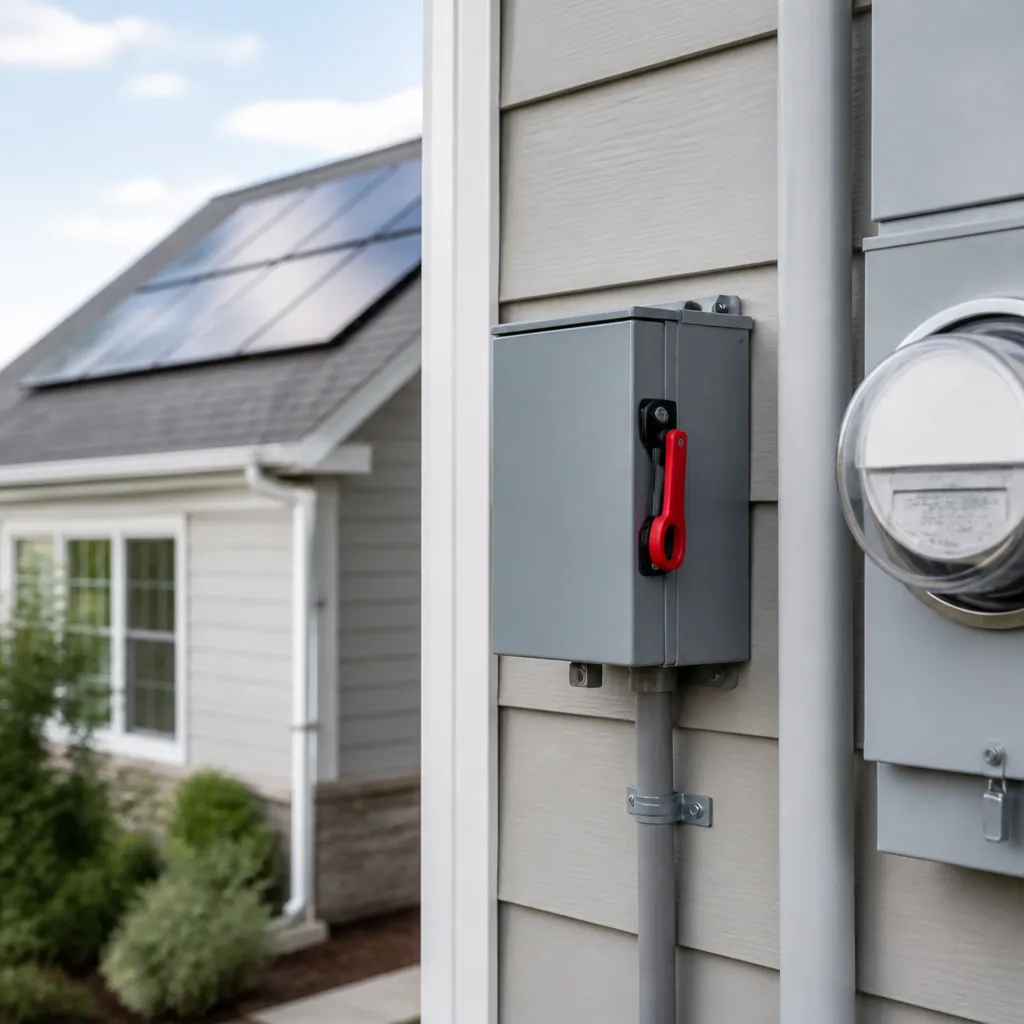
The inverter is the most common reference point for locating a disconnect. Many installations mount the switch on the wall beside the inverter or within a few feet of it. Homeowners should check for a labeled enclosure with a handle, which is often a red or black box with a lockable position.
Inverter placement varies. Some systems install the inverter in a garage, a basement, or an exterior wall. A disconnect in those locations may be partially hidden behind equipment or stored materials, which is why periodic walkthroughs matter.
Near the Utility Meter or Service Panel
Some installations include a utility-facing disconnect that serves the entire system from the point of interconnection. This arrangement is common where the utility or local authority requires a separate, accessible switch for emergency responders or utility workers. Homeowners who find a switch near the meter should confirm whether it controls the solar system alone or the full service.
Rapid shutdown controls may also appear on the roof or near the array in some systems. These controls are designed to reduce conductor voltage quickly. They do not replace a switch that isolates the system for service, so a homeowner should not assume that a rapid shutdown device is the only control that matters.
Why Mid-Atlantic Homes Need Clear Access
Homes across Delaware, Maryland, Pennsylvania, Virginia, and Washington, D.C. share several conditions that make disconnect access more difficult. Many residences have older mechanical rooms, shared utility spaces, and limited storage areas. Solar equipment is often installed in the same spaces where families keep seasonal goods, recycling, and tools. Over time, these items can cover a switch that was once easy to reach.
The regional climate adds further pressure. Humidity, summer storms, and cold winters can affect outdoor enclosures, wiring, and seals. A disconnect that is hard to reach in an emergency is less useful, particularly during a storm when a homeowner may need to act quickly and with limited light.
Older Housing Stock and Crowded Mechanical Spaces
Older homes often have basements, garages, and attics with limited clearance around electrical equipment. A solar inverter or disconnect may be installed in a tight corner after other systems were already in place. In these conditions, a technician may need to move boxes, ladders, or stored furniture before any work can begin. Clearing a defined working area around the switch is a simple step that reduces delays.
Storm Season Preparation
Severe weather often produces debris, flooding risk, and power interruptions. Homeowners who have a plan for the solar circuit can respond more calmly when conditions change. Before the storm season begins, a household should confirm that the disconnect is accessible, that its label is legible, and that the surrounding area is free of water accumulation or debris. These checks take a few minutes and can prevent confusion later.
Safety During Maintenance and Emergencies
Solar systems require maintenance, and most service visits involve some form of isolation. A technician who arrives at a home may need to inspect panels, replace a failed component, or troubleshoot an error code from the inverter. Each of these tasks becomes safer when the solar circuit has been isolated at the correct point and verified before work begins.
The same logic applies during emergencies. If a homeowner smells burning, sees scorched insulation, or notices visible damage near the inverter, the priority is to reduce risk while maintaining distance from any hazard. The disconnect provides a defined step in that process, but it should be used according to the guidance of qualified responders and the installer's instructions.
A disconnect is only useful when it is findable, labeled, and accessible under pressure. Planning for those conditions before an incident is more reliable than improvising during one.
Preparing for a Technician Visit
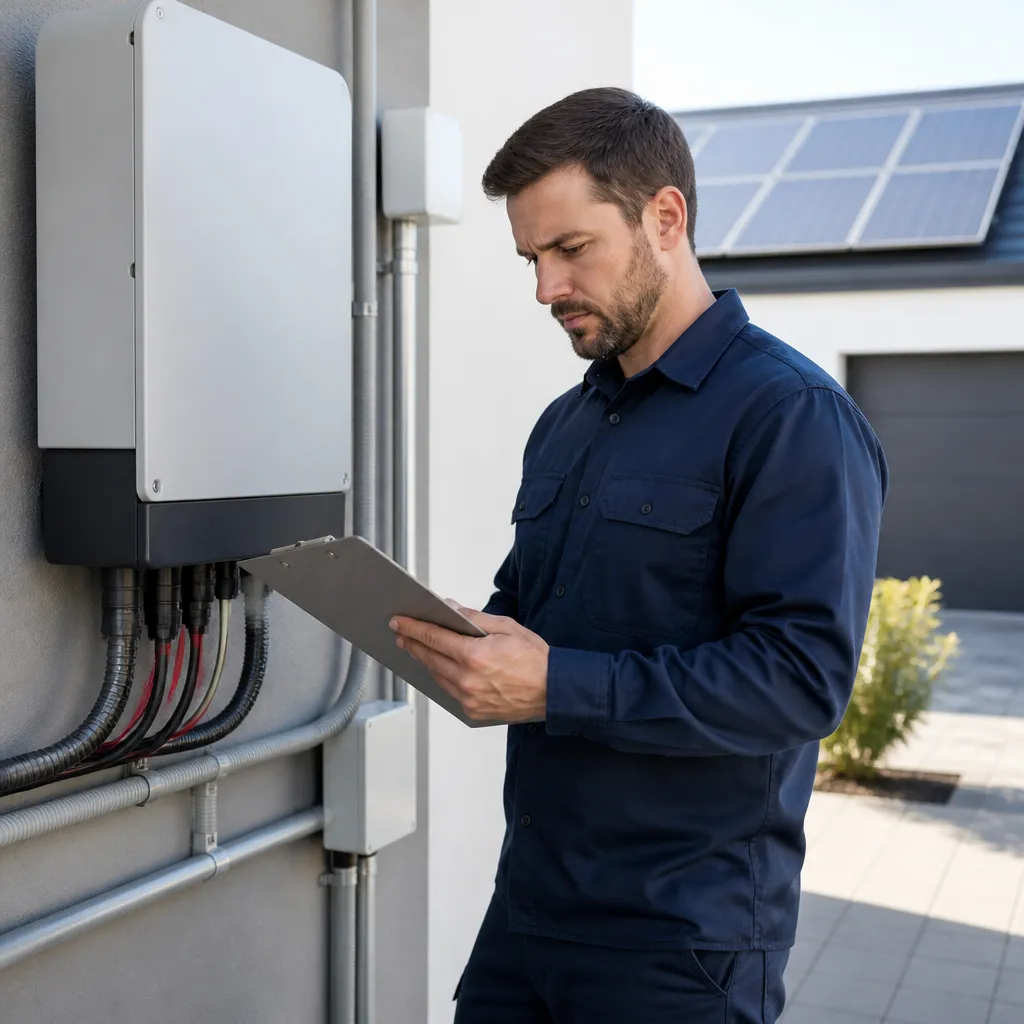
Before a scheduled service visit, a homeowner can clear the path to the inverter and the disconnect, note any unusual sounds or odors, and gather the installation documents. Providing the technician with the make and model of the inverter, along with the date of installation, shortens diagnostic time. Our technicians often ask for these details at the start of a service call because they help identify the correct switch location.
Pro tip: Photograph each disconnect, its label, and its position in the off and on states, then store the images with your installation paperwork. This record helps a technician or responder find the same device quickly during a future visit.
Emergency Shutdown Steps for Households
A household shutdown plan should be short and written in plain language. It should name each disconnect, state its location, and describe the order of operation. The plan should also instruct occupants to contact emergency services when a hazard is present and to avoid entering areas with visible damage. A plan that fits on one page is more likely to be read and remembered than a long manual stored in a drawer.
Common Mistakes Homeowners Make
Several mistakes appear repeatedly during service calls across the region. Most are inexpensive to correct, yet each can delay work or create unnecessary risk. Identifying them early allows a homeowner to address the issue during routine maintenance rather than during an emergency.
The most common error is assuming that the solar system will stop producing power when the home's main breaker is turned off. Panels continue to generate electricity while exposed to light. A second error is storing materials in front of the disconnect, which creates an obstacle during a visit or a storm. Both mistakes can be avoided with a short inspection and a clear labeling practice.
Labeling Too Late
Many homeowners wait until a technician asks where the switch is located before they begin looking for it. A label applied at installation is helpful, but labels can fade, peel, or become hidden after renovations. A new label that identifies the solar circuit, the voltage category, and the location of the related inverter provides more reliable guidance for anyone who needs it later.
Blocking Access With Stored Items
Shelving, paint cans, holiday decorations, and recycling bins often end up near solar equipment because the space appears unused. These items can block the door of a disconnect enclosure or prevent a technician from standing safely in front of it. Maintaining a clear zone of working space is a practical habit, and the appropriate clearance should be confirmed with the installer for each location.
Assuming the Inverter Shuts Off the Array
Inverters convert direct current into alternating current, and some models include controls that can stop output. These functions are useful, but they do not always provide the same level of isolation as a lockable disconnect. A homeowner who relies only on an inverter display may believe the array is off when conductors remain energized. Verifying the disconnect position and understanding the inverter's role separately prevents this confusion.
Pro tip: Ask your installer to show you, in person, the disconnect position that isolates the array and the position that restores normal operation. Demonstrating both states once is more useful than reading about them in a manual.
Disconnect Options Compared
Solar systems in the region use several control arrangements, and each serves a slightly different purpose. The table below summarizes three common options that homeowners may encounter during an inspection or service visit. The practical differences matter most when a technician needs to isolate the system quickly or when a homeowner must explain the setup to an emergency responder.
Disconnect Type | Typical Location | Practical Consideration |
|---|---|---|
Standalone lockable AC disconnect | Wall-mounted near the inverter or utility meter | Provides a visible, lockable isolation point for service work and is usually the first control a technician looks for. |
Inverter-integrated switch | Built into or adjacent to the inverter enclosure | Convenient for basic shutdown, but it may not replace a separate lockable disconnect, so the installer should confirm its role. |
Rooftop rapid shutdown control | On the roof, at the array, or near the home's entry point | Reduces conductor voltage quickly in an emergency, but it does not substitute for a switch that isolates the full system for service. |
A homeowner does not need to memorize technical categories, but recognizing which device is which helps during a service call. The standalone lockable disconnect is typically the most useful reference point for planning work. The inverter-integrated switch and the rooftop control serve important roles, yet they should be understood as supplements rather than complete replacements.
Solar Disconnect Service and Inspection
A solar disconnect switch should be included in routine inspections of the solar system. Technicians look for signs of wear, corrosion, loose hardware, and heat damage around the enclosure. They also confirm that the handle operates smoothly, that the lock point is accessible, and that the label matches the installed equipment. These checks take little time when the switch is accessible, but they become more difficult when the device is blocked or forgotten.
At Triple R Energy, our service work often includes solar system diagnostics and troubleshooting, solar system repair, and electrical panel troubleshooting. Disconnect inspections fit within those visits because the switch is part of the path that connects the array to the home. Identifying a faulty switch early can prevent a more extensive repair later.
What a Technician Checks
During an inspection, a technician typically checks the enclosure for moisture intrusion, verifies that conductors are secure, and tests whether the switch operates as intended. The technician may also compare the installed configuration with the original design documents. If the system has been modified, such as by adding panels or replacing an inverter, the disconnect arrangement should be reviewed to confirm that it still meets the current configuration.
Signs a Disconnect Needs Attention
Several conditions indicate that a disconnect may need professional review. These include discoloration on the enclosure, a handle that is stiff or difficult to move, a cracked cover, a missing label, or a noticeable burning odor. Homeowners should not open an energized enclosure. Instead, they should document the condition, keep the area clear, and contact a licensed contractor for an inspection.
Scheduling a periodic inspection after major storms, roof work, or changes to the home's electrical service is a reasonable practice. Solar systems operate outdoors and benefit from periodic verification, particularly in a climate with heavy precipitation and seasonal temperature changes.
Frequently Asked Questions
Where is the solar disconnect switch usually located?
It is commonly mounted on a wall near the inverter or near the utility meter, depending on how the system was designed. Your installation documents or your installer can confirm the exact locations for your system.
Does turning off my home's main breaker shut down my solar panels?
No. Solar panels continue to generate electricity when exposed to daylight, even if the home's main breaker is off. A solar disconnect switch is the appropriate control for isolating the array during service.
Can I operate the solar disconnect switch myself?
Homeowners should understand the position of the switch and how to identify it, but service work on energized equipment should be performed by a licensed professional. If you suspect damage, contact a qualified contractor rather than opening the enclosure.
How often should a solar disconnect switch be inspected?
A routine inspection as part of regular solar system service is a practical approach. Additional checks after severe storms, roof work, or electrical upgrades help confirm that the enclosure and connections remain in good condition.
Should the disconnect be labeled?
Yes. A clear, durable label that identifies the solar circuit helps technicians, household members, and emergency responders locate the correct device quickly. Labels should be checked periodically because they can fade or become hidden.
Does a rapid shutdown control replace the solar disconnect switch?
No. A rapid shutdown control reduces conductor voltage quickly in certain conditions, but it does not replace a switch that isolates the system for service. Both devices serve different purposes and should be understood separately.
If you have located your solar disconnect switch or discovered a device that was difficult to find, we welcome your feedback and experience with the process.